The floor tiles on the replacement table started to come up after about four months so it seemed like a new version was going to be required sooner than later. We listed the good properties of the prototpe that were to be included in the final and got to work. To see the prototype description, check out this post.
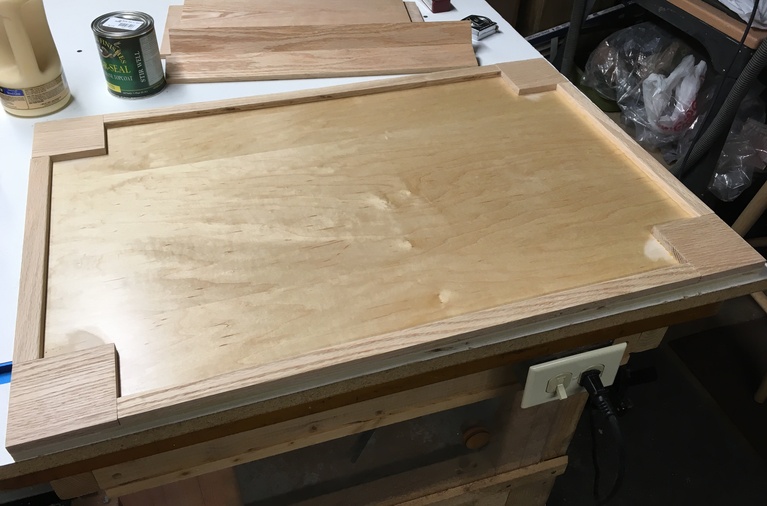
The new table starts with birch plywood and oak to match the interior trim. Since the oak is going to support the table the trim and corner blocks were glued and screwed from the top side.
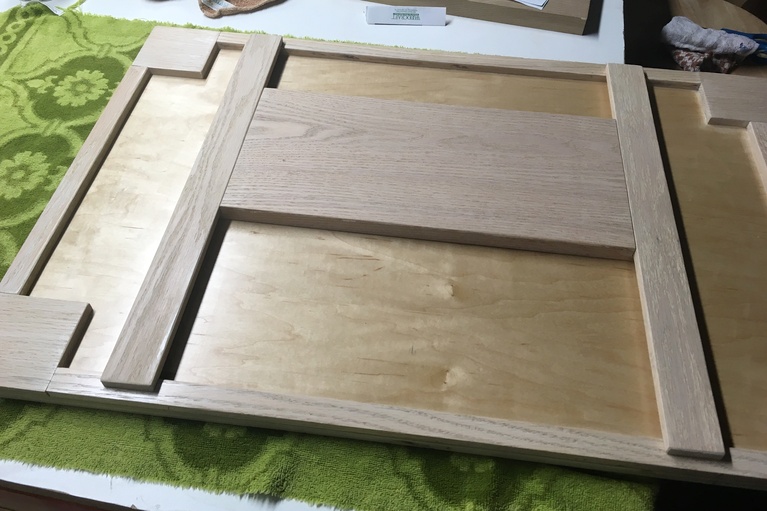
We liked the ability to slide and rotate the table so those features were incorporated. The side rails and mounting board were given matching 3/4″ rabbets. Mating surfaces received UHMW tape to make sliding easier. Side rails were glued and screwed just like the trim.
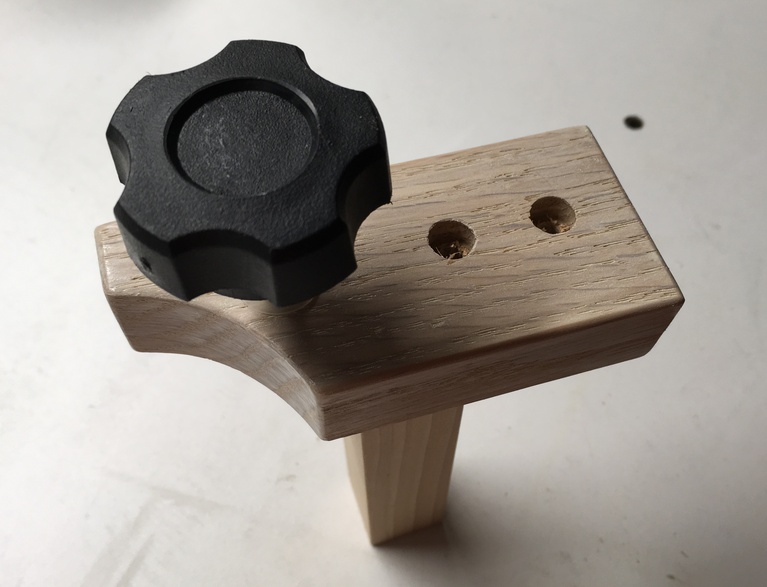
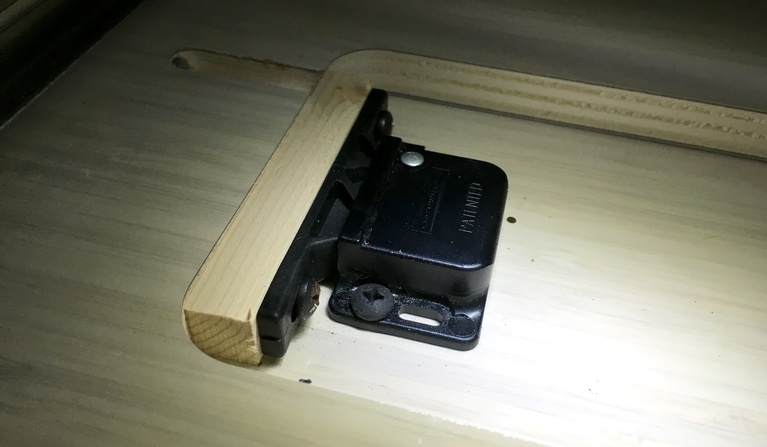
The hold-down for the prototype table had problems. The sliding portion of the bracket was always in the wrong place because the pivot point was poorly located and the slide couldn’t be locked down so that it was out of the way when the table wasbeing used. On the new bracket the pivot point was moved to the bottom and we went back to the original metal slide is going to be reused.
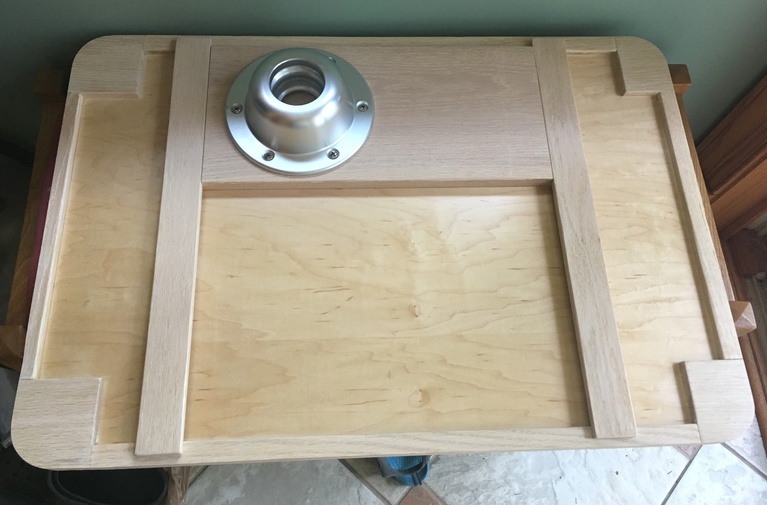
The finished table is the same size and the prototype was used as a template to route the table to the final size and shape. The table is finished with iron on melamine edge banding. This table is much stronger and the post bracket is offset a bit more. This allows us to use the table parallel to the lounge or rotated 90 degrees so that one person can sit on the jump seat and one on the lounge.
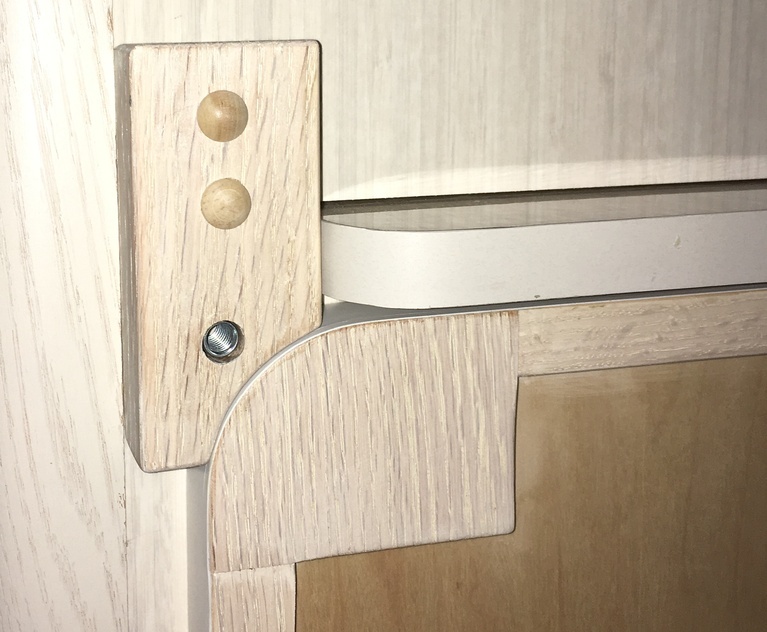
The hold-down was cut to match the the radius on the table. As with the prototype the table is sized to just fit just under the pull-out shelf.
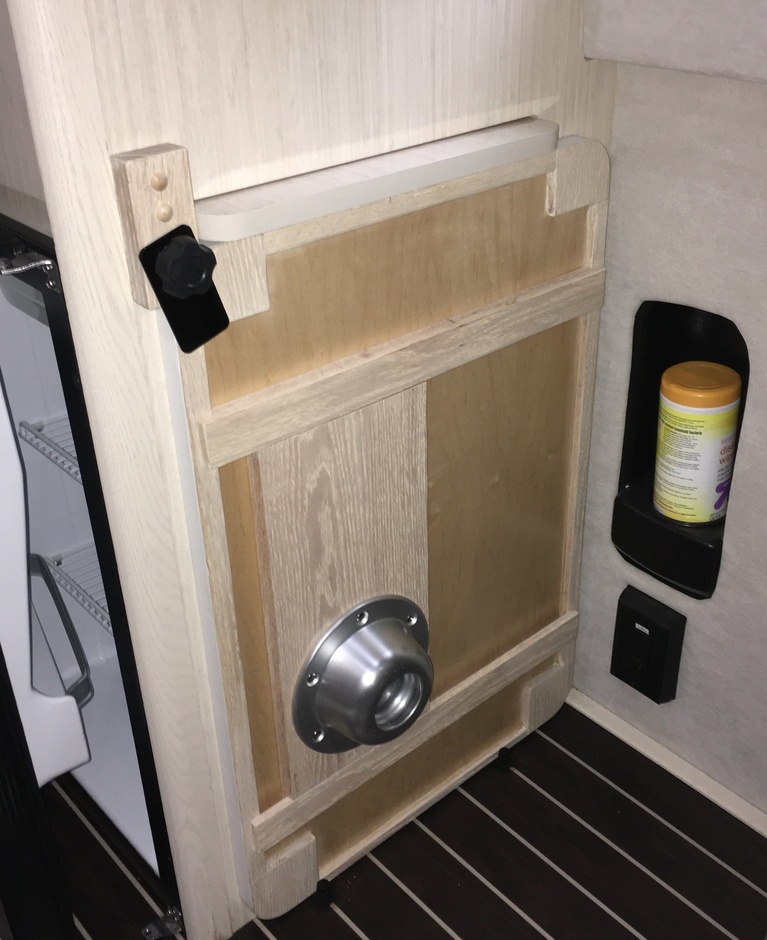
Because the new table its thicker, the finger pull on the shelf would be unusable when the table is stowed. To fix that problem, the shelf latch can be moved forward by adding a half inch spacer. The latch can be accessed by removing the silverware drawer. Drill holes in the spacer and attach it with longer pan head screws.
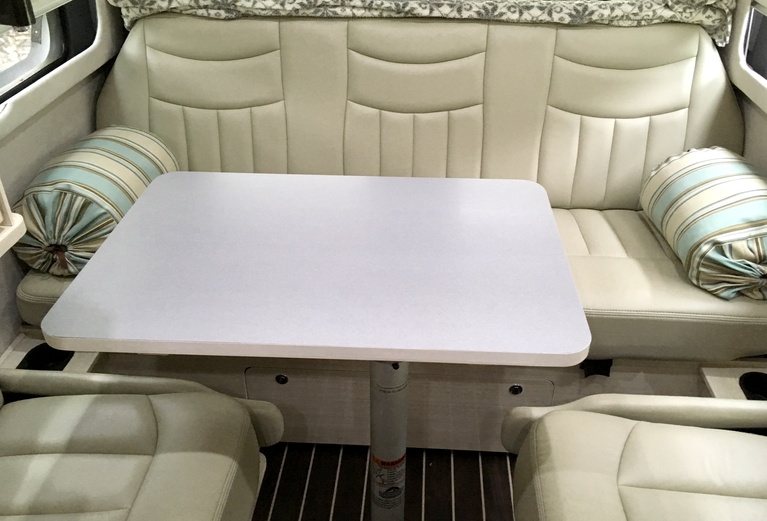
Two views above of the table in the stowed location and in place on the rear mount in front ot the lounge.