One of the last things you want in an RV is a plumbing problem. The very last thing you want is a problem with the waste system, especially a leak! So, when that happens, what do you do? You could go to the big dealers and see if they can squeeze you in. You could go to a campground and get advice from the locals. You could call seven mobile RV techs. You could wait four days in four towns with full holding tanks that you can’t dump for any of them to call back because it’s the busy season. You could return to camping days of old where you wash dishes in a bowl and dump the water in your fire ring. When all of that gets old, you could take matters into your own hands and diagnose the problem yourself.
So, let’s begin that process at the beginning. Many Class B vans have a macerator. It’s job is to pump out the contents of the holding tanks, grind them up and then send what’s left out the discharge hose to the sewer connection or dump station. In our situation, there were no leaks when the tank valves were closed and no leaks when the valves were open and the macerator wasn’t running, so we first looked at the macerator. Now, when that phrase is used, it means get out your phone and start a video and wave it around under the van or take a bunch of stills or both. We did both. Nothing looked out of the ordinary there. Clamps on tight and no signs of any leaks.
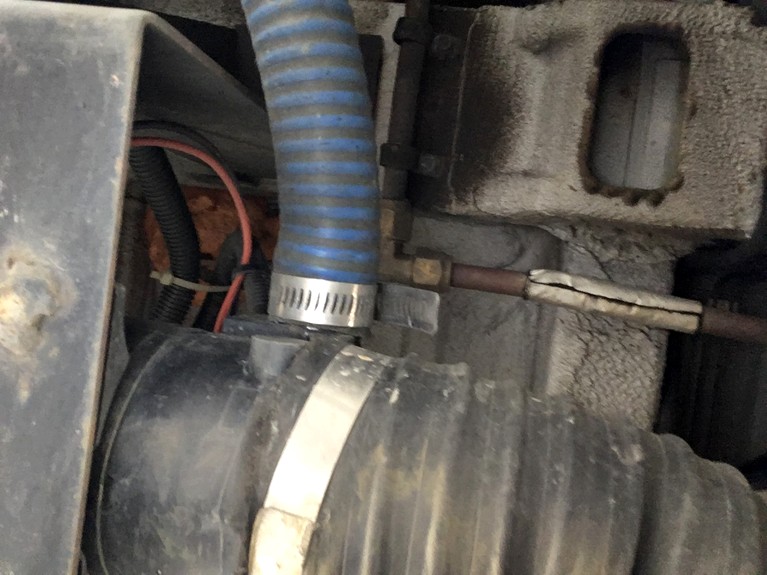
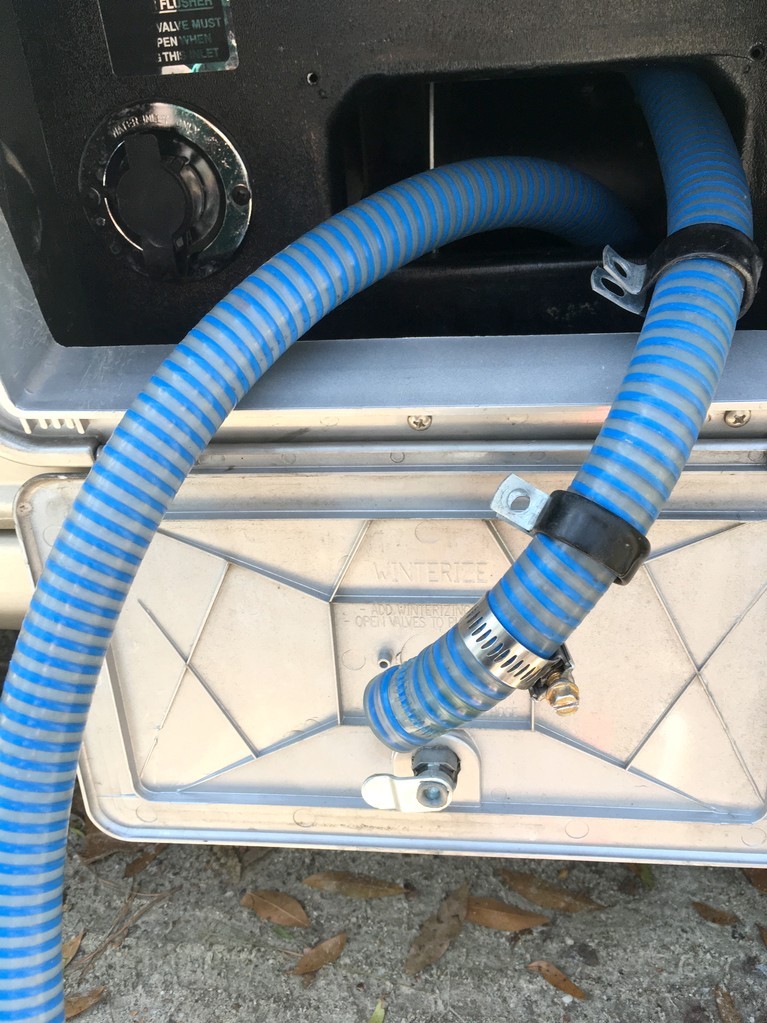
The blue hose above goes to the hose reel box. It works just like any other hose reel. The input comes into the center of the reel and the hose attaches to the center which spins with the reel. You unwind the hose as needed and rewind when you are done. We pulled out the hose until we could see the arttachment point. That looked good, too.
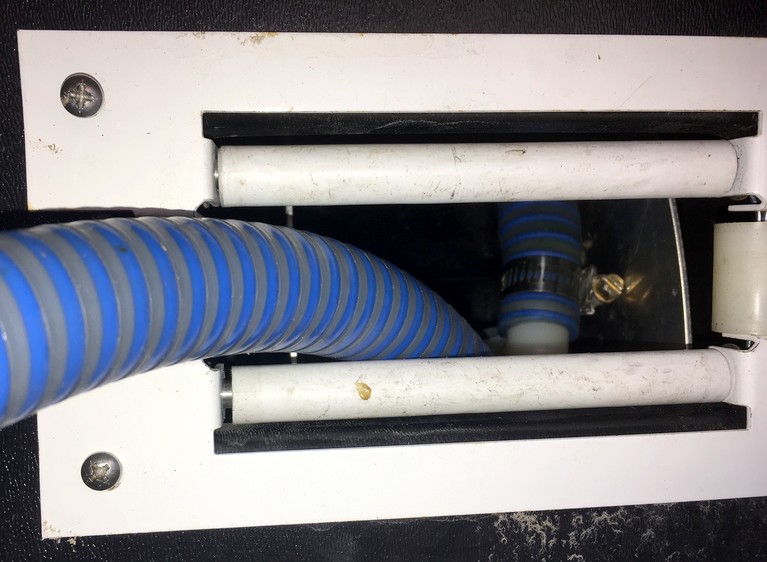
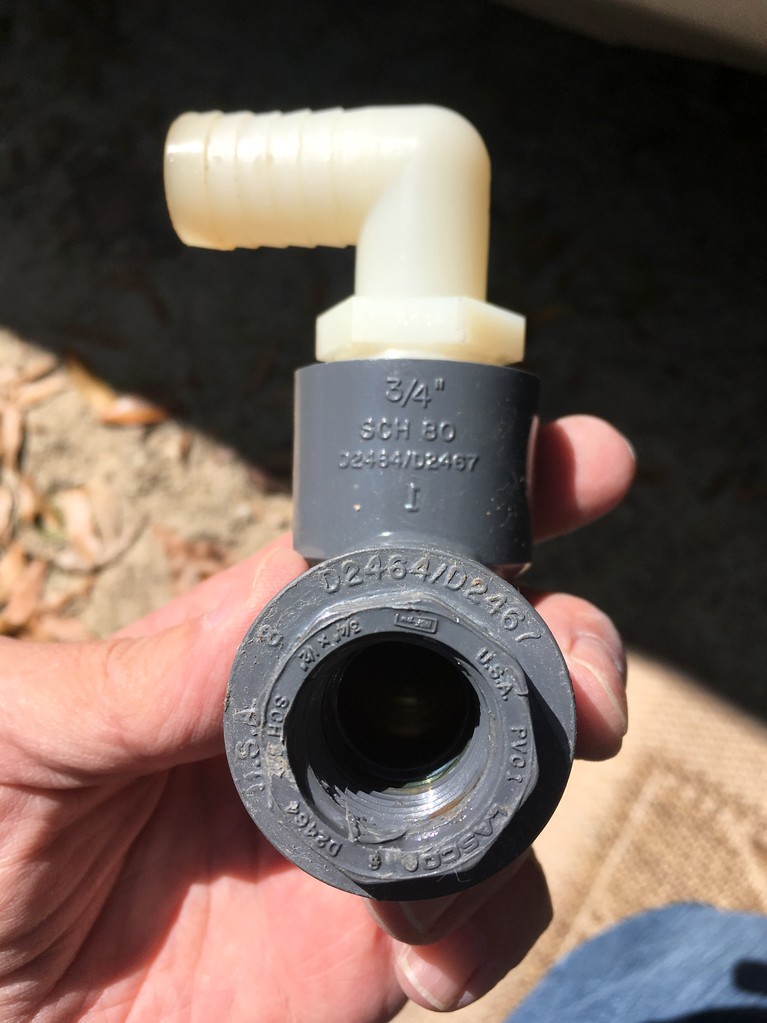
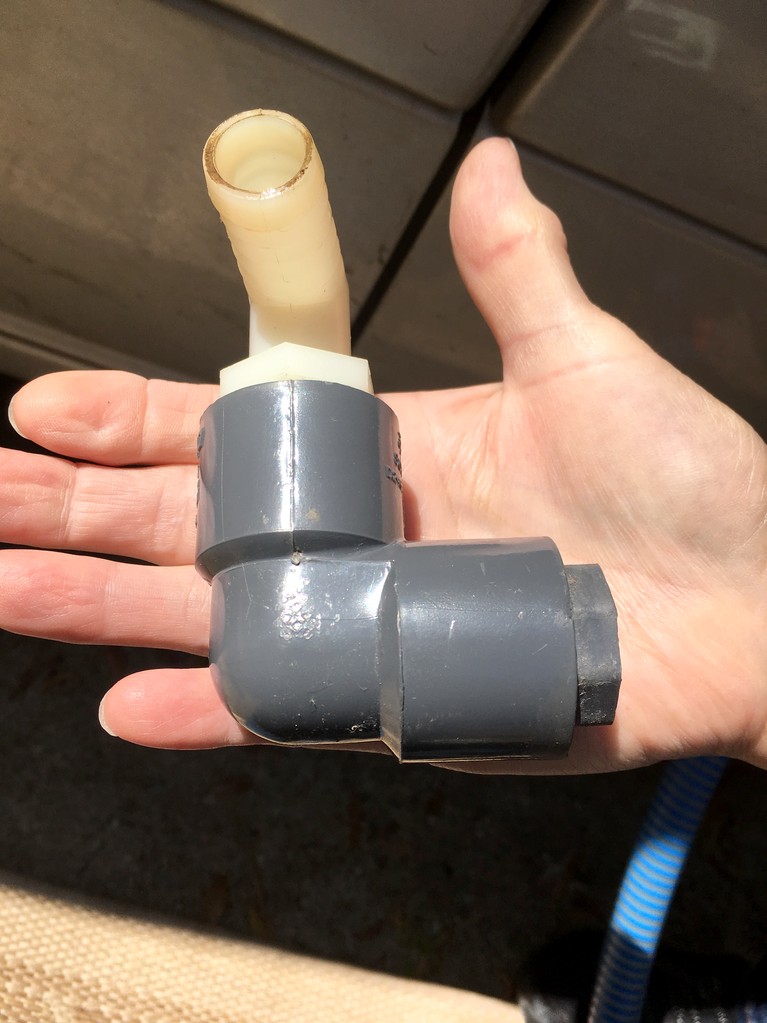
After removing the front plate with the rollers the problem was revealed. The Schedule 80 PVC elbow had unscrewed itself from the brass hose reel center. Yes, the two fittings are glued together. Thanks for asking.
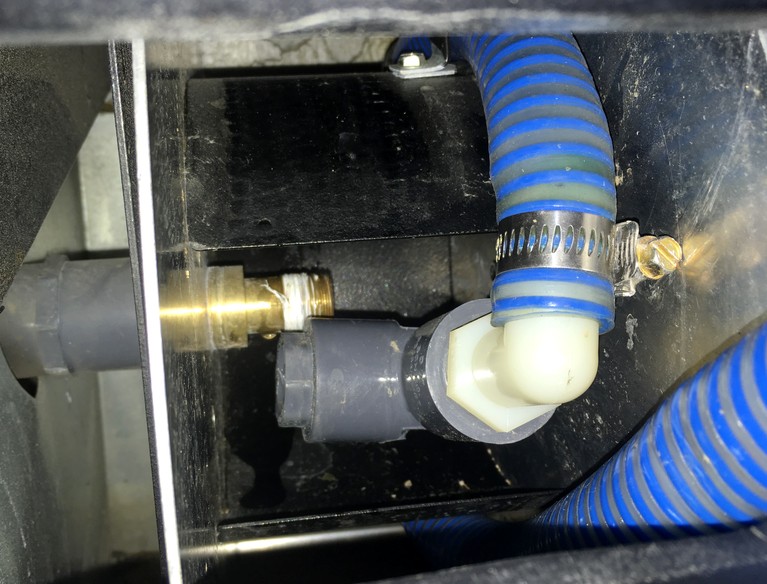
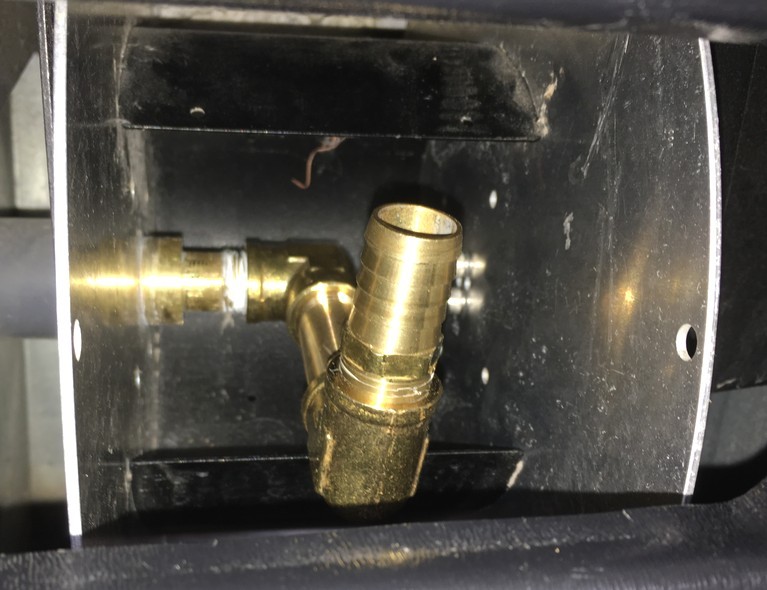
Here’s the culprit and it seems reasonable to assume that if it came off by itself in that confined space that it should be easy to put back on in that same confined space. That just wasn’t going to happen. Our next adventure was looking for parts to fix the problem. No one had Schedule 80 fittings so we took up way to much of Dave’s time at Lowes in Summerville. He really tried… Next, we headed off to Ferguson Plumbing. After much head shaking and scratching we decided on brass as a reasonable substitute because fitings were smaller and they could still take the pressure Schedule 80 was made for. They didn’t have everything but they sent us to Fastenal across the street. They didn’t have 90 degree nylon hose barbs but they did have the right size in straight brass. Back to Ferguson for one more bushing and another elbow and we were now on our way to a solution.
Since the center connection rotates freely with the hose reel it has to be clamped and held in place to tighten the fittings. Locking pliers and a bar from the Mercedes tool kit did the trick. Insert a ratchet extension into the fitting to tighten. The hose barb and second bushing go in much easier with a spark plug socket and two extensions.
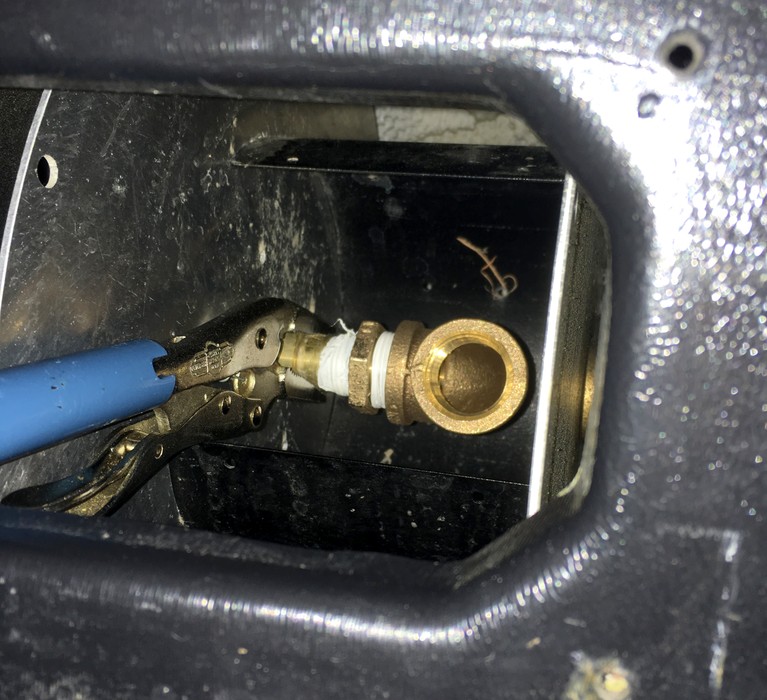
Now, we found that the second elbow didn’t get the hose barb out past the hub of the hose reel. We had to eliminate the elbow and come straight out. This, of course, would cause the hose to be squished to more than it’s minimum bend radius to get it onto the reel. Remove all the doughnuts and wind up the hose. After cutting off about two feet of hose, it all fits. Proceed to dump station…happy campers once more. That should be good long enough for us to get home.
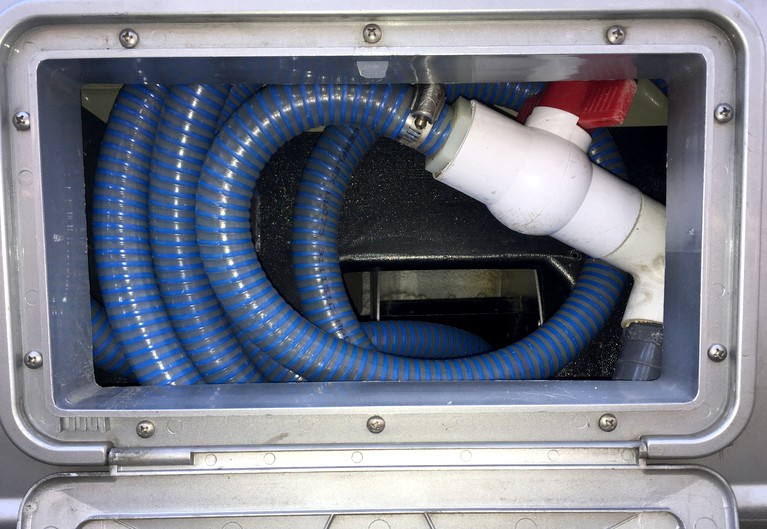
Moral of the story: If you have a hose reel on your sewer line, you might want to check that every now and then.
Update: 18 May 2018
On a warmer day and with better fittings in hand, the temporary fix was removed and a final solution was installed. We kept the brass, no bushings and all the hose fits on the reel.
