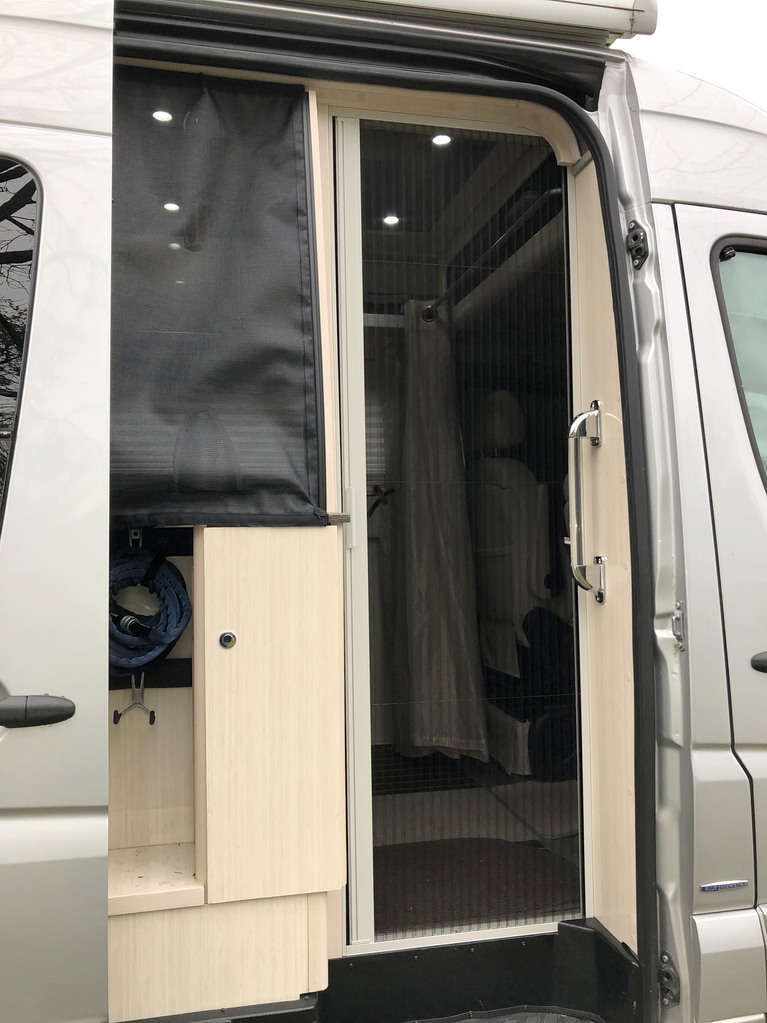
We’ve wanted a screen door for several years. We spent a lot of time looking at doors in other vans, and didn’t see anything that excited us until we visited Advanced RV. Their designs inspired us and got us going on this project.
Our first step was to find a door that would work. After a bit of online searching, we discovered Plisse screen doors. They are located in Austin, TX and we stopped last year to meet Doug and discuss the possibilities. It looked good, so we ordered their sample screen door (a miniature working model) to help with planning.
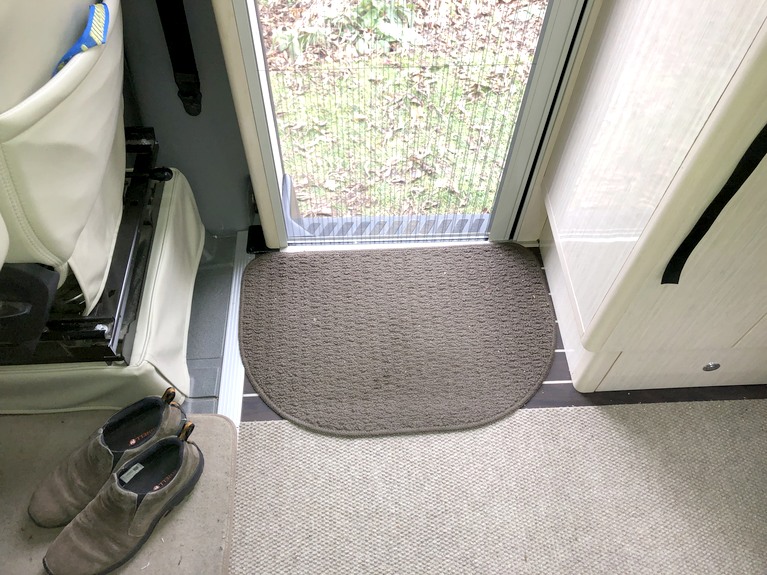
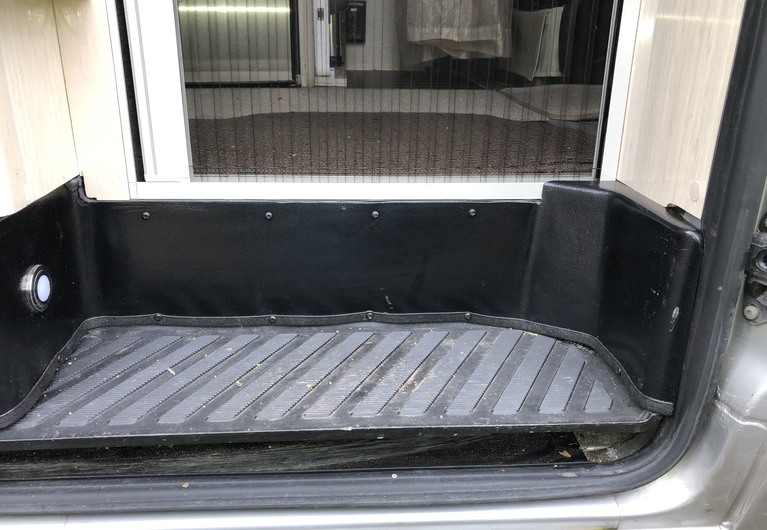
We decided that the door would be best if it could be set into the top of the entry step so that it was flush with the step front and the finished floor on the inside. This would eliminate any tripping problems. The step is covered with plastic trim, so a quick peek behind the trim was called for. Airstream conveniently placed a “nailer” on the front of the step. There was a gap at the top but that could be fixed.
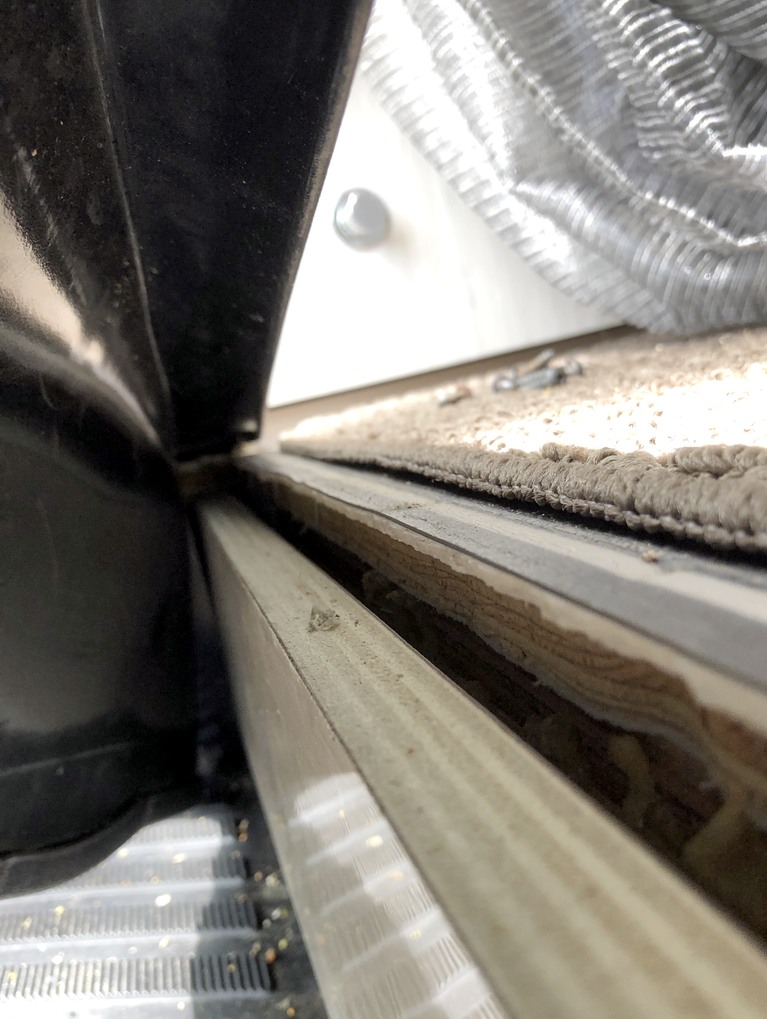
We filled the gap, then trimmed back the step covering to provide a base for the door. The flooring was trimmed to meet the inside of the door.
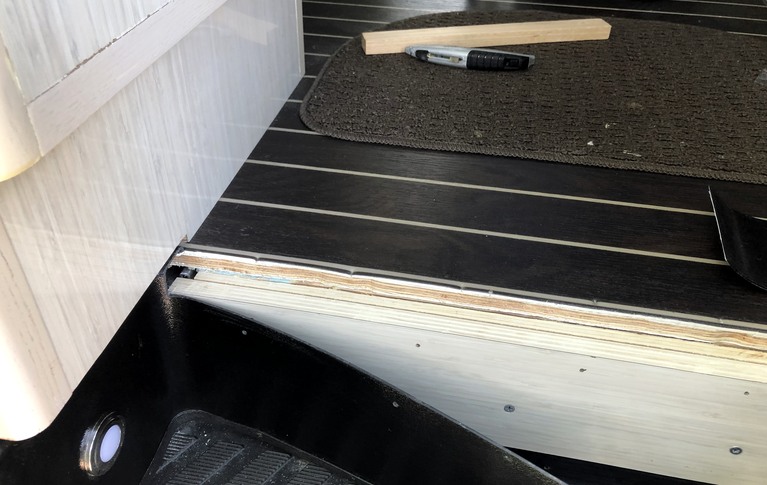
The sample door fit nicely at the at the top of the step.
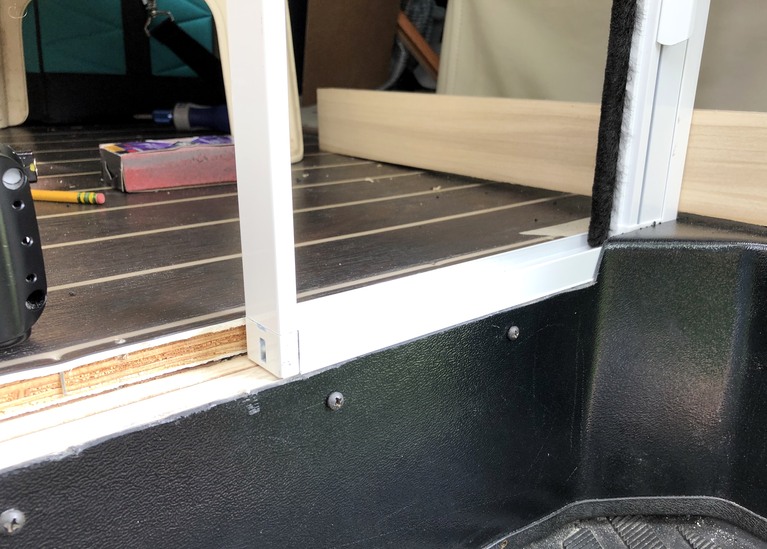
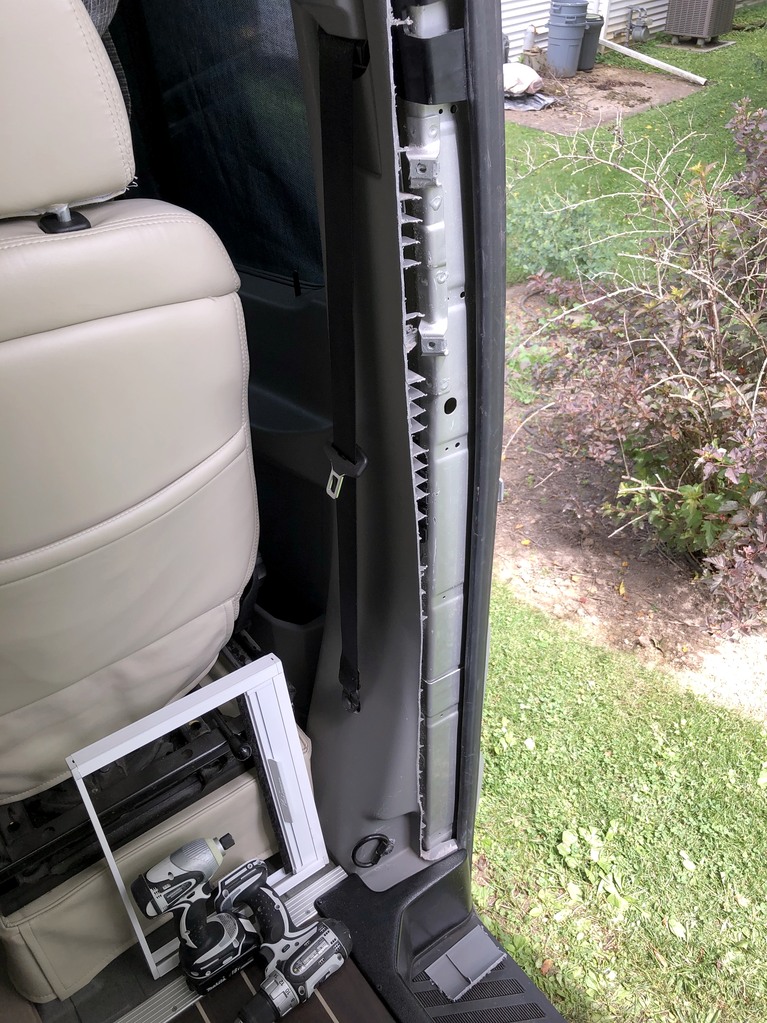
Now we needed to create a frame for the door. The frame would be fastened to the B pillar, so a bunch of plastic trim had to go. A few pokes at the plastic convinced us that we needed a new tool: a battery powered oscillating cutter. Several hours of tentative trimming exposed the metal frame and mounts for the door handle.
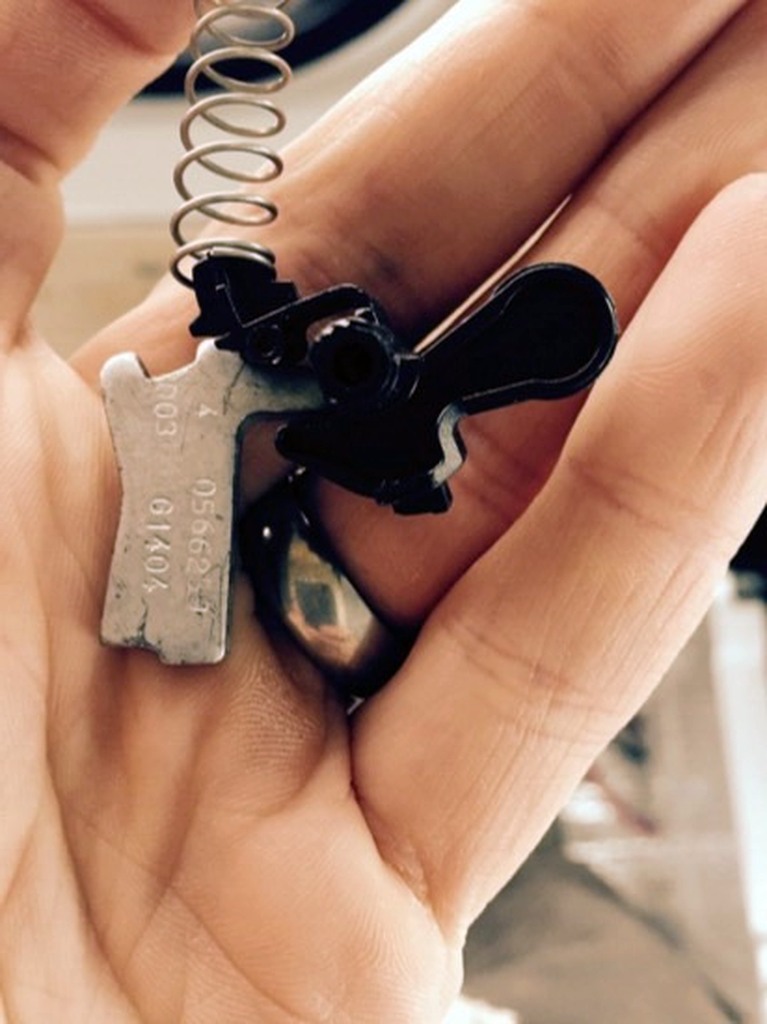
After removing all that material, the remaining plastic trim felt very flimsy. It flexed quite a lot. Eventually, we heard a “sproing” and recovered some interesting parts from the floor. They are part of the height adjustment for the seat belt. The photo shows the proper configuration of the assembly as installed. The pieces need to be installed one at a time, an incredibly tedious task requiring 4 hands, a flashlight, needle nose pliers, and a bunch of curse words. And of course, flexing the trim allows the parts to escape again.
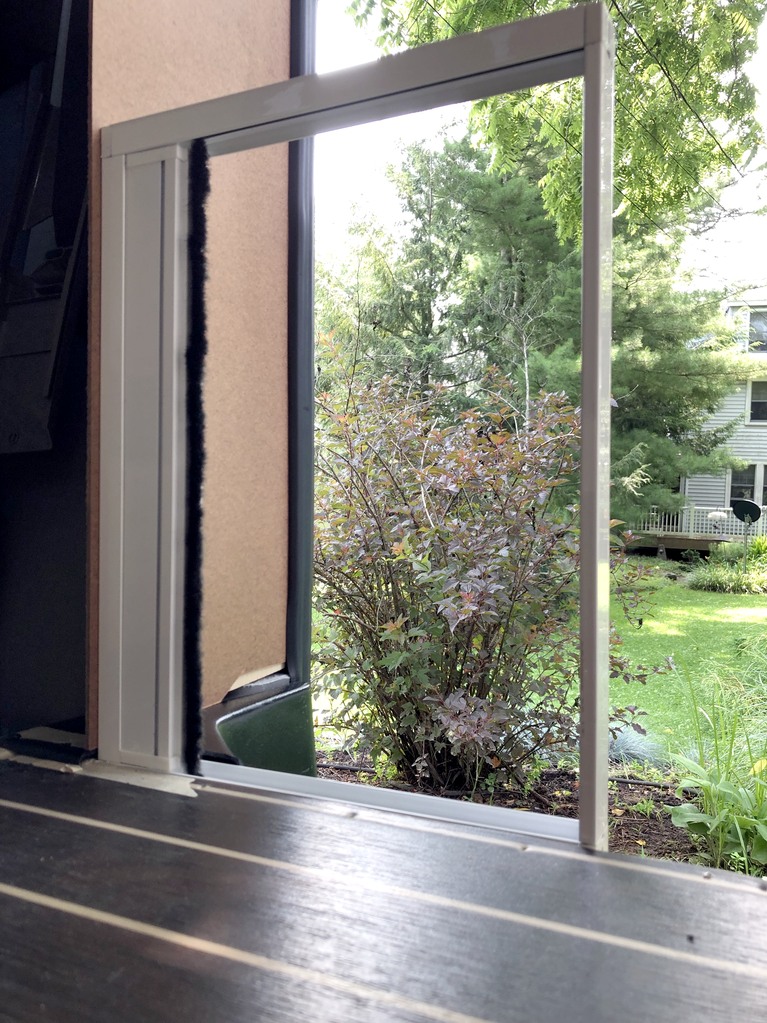
The plan was to install a plywood wall and screw it to the B pillar. The photo shows a test with the sample door and a piece of Masonite scribed to the door wall.
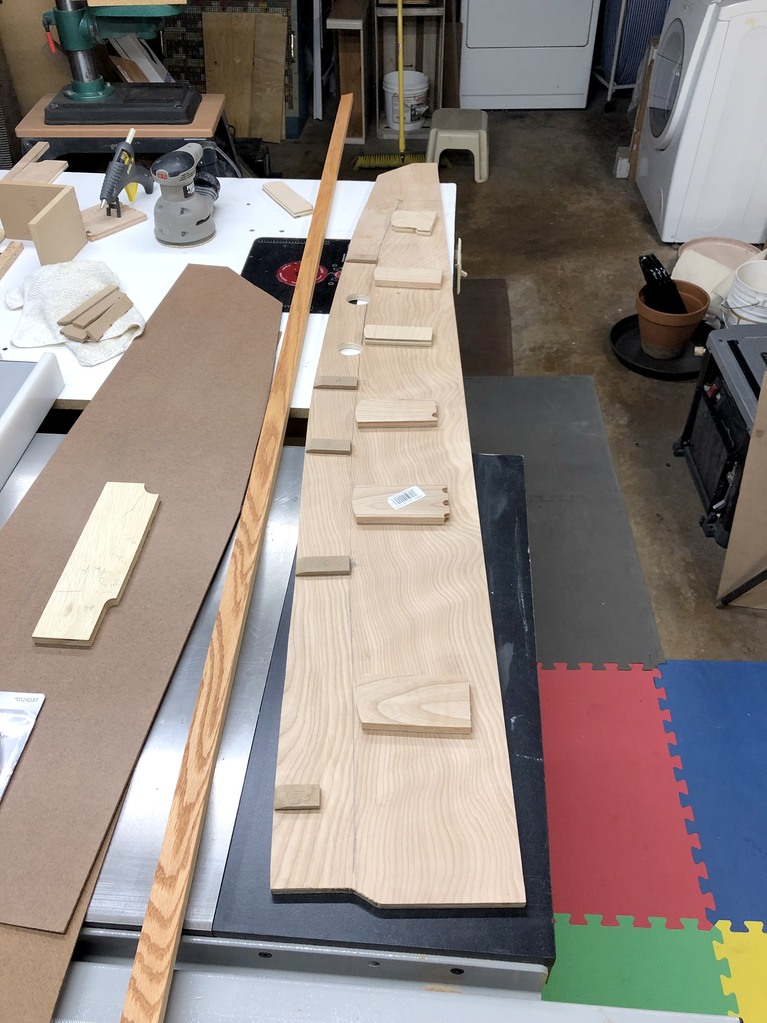
Next was building the wall. We decided to use two sheets of 1/2 inch plywood for stiffness. Our test showed that shims would be required to keep the wall perpendicular to the aisle. The larger plywood piece is screwed to the B pillar and extends under the door gasket. The smaller piece holds the plastic trim against the B pillar. The blocks on this piece are hot melted; they were used to figure out the shape needed to match the plastic trim and were later removed.
We finished the top of the wall with a curved detail that matched the streetside wall trim.
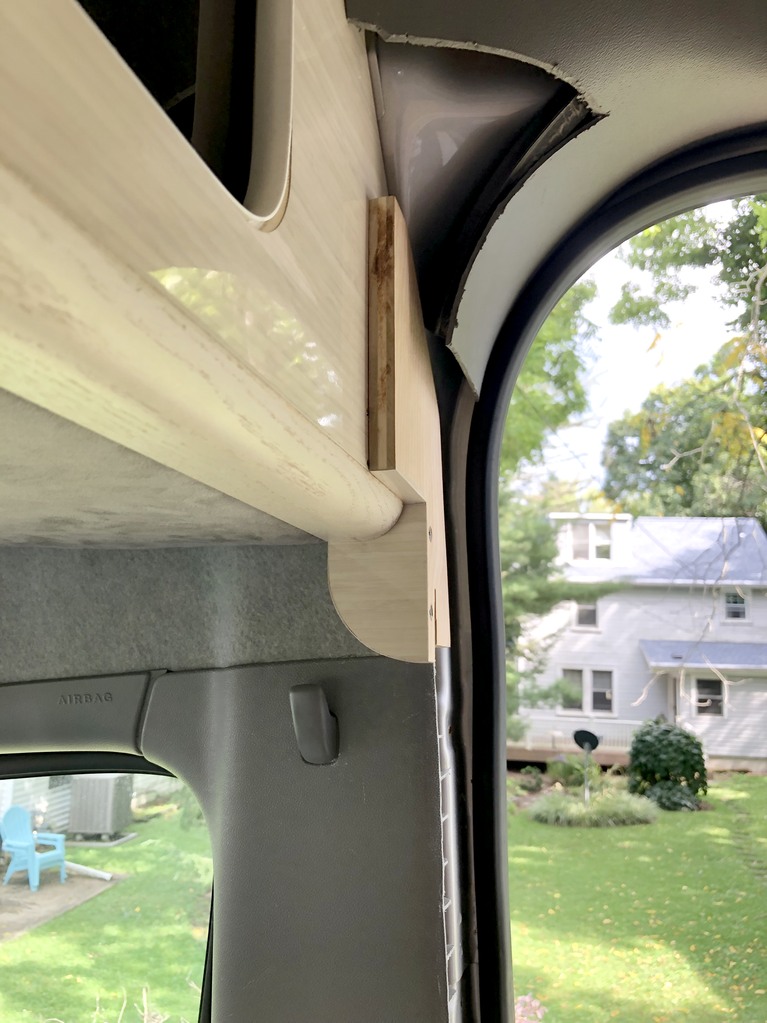
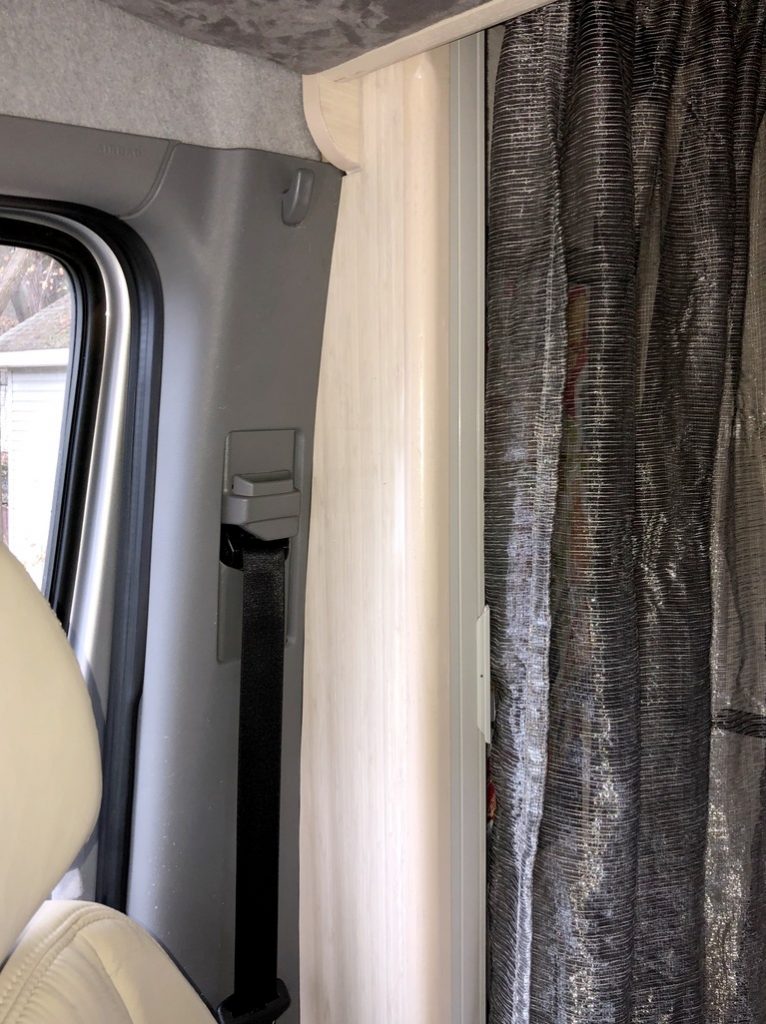
This is the finished wall with laminate and oak trim. The laminate is WilsonArt Asian Sand in high gloss finish.
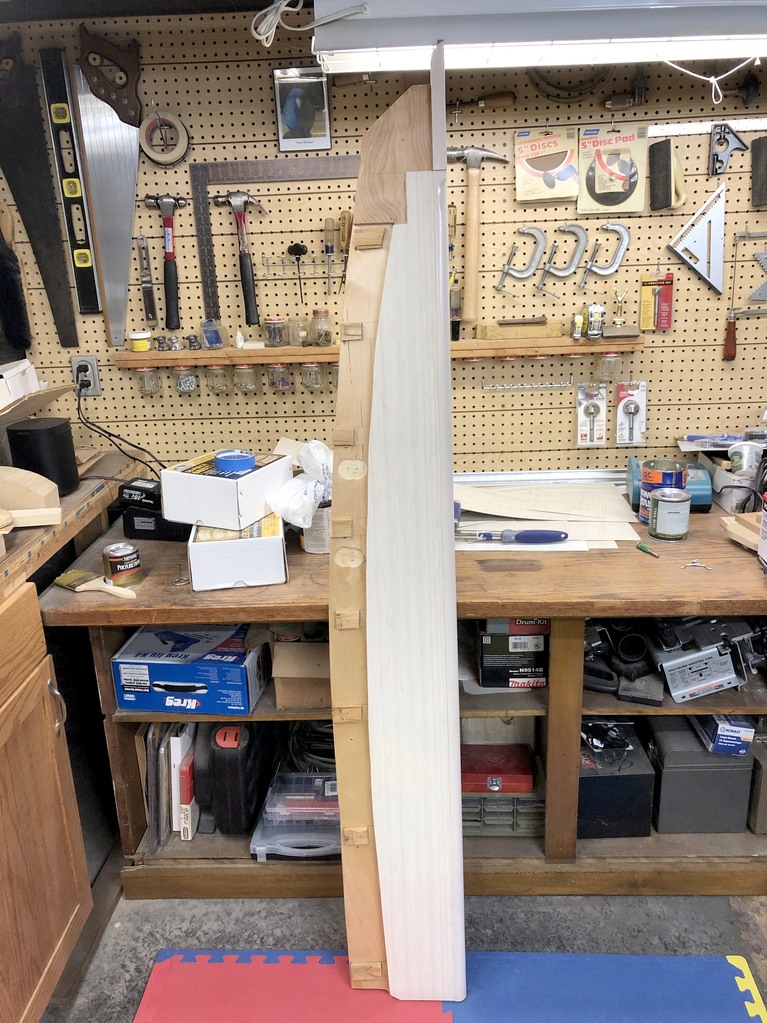
We added UV-safe rubber flashing at the top of the step to protect against water infiltration.
Finally we installed the wall. We attached a RecPro grab handle with T-nuts behind the cab-side laminate. Then we test fit the actual screen door. With the wall in place, the travel of the passenger seat is reduced by about 1″ but we’re short so that isn’t a problem for us.
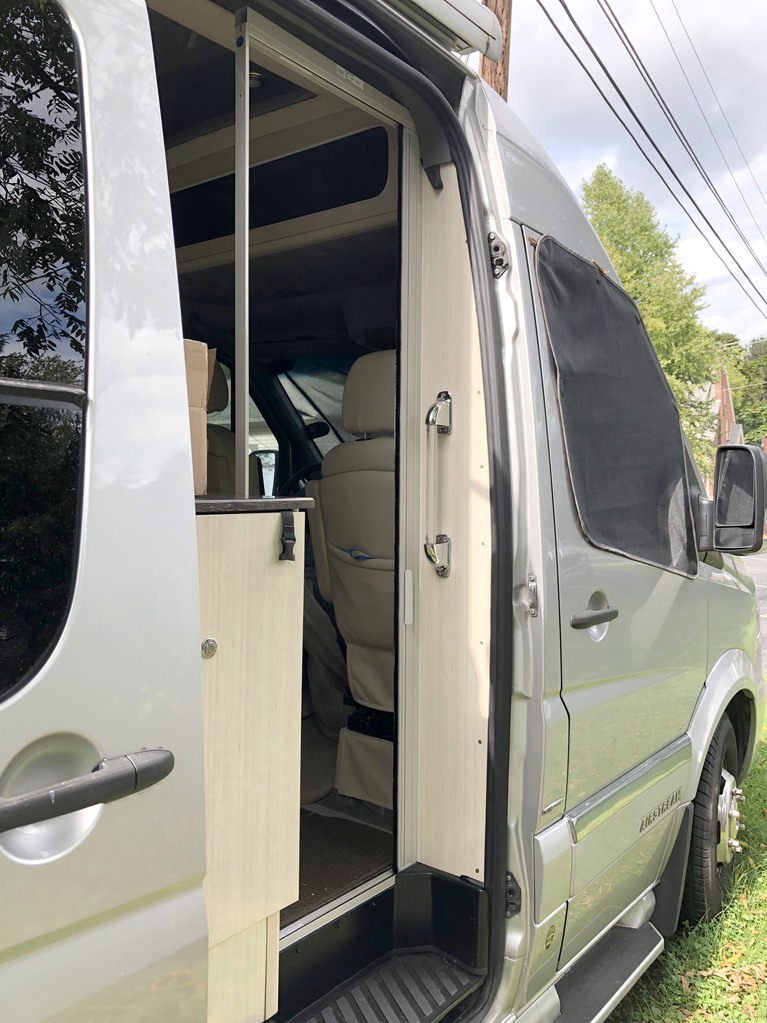
Now we turned our attention to building the rest of the door frame and the screening above the cabinet. First, we had to modify the cabinet because the original had a drawer at the bottom which opened toward the front. We built a new drawer which opened to the interior of the van and reattached the existing cabinet to it.
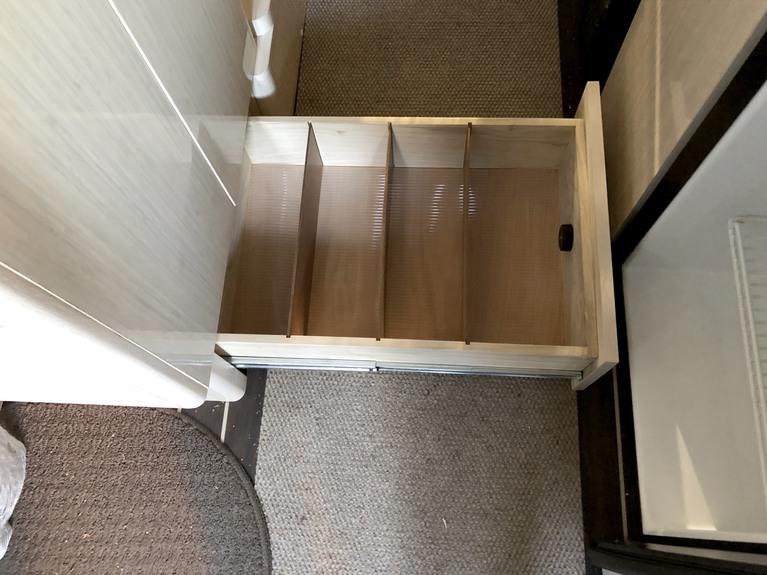
With the new drawer in place, we could attach a piece of oak on the side of the cabinet to support the door. We’d also need a short wall on top of the counter for attaching the screen. The template for the wall is shown in the photo.
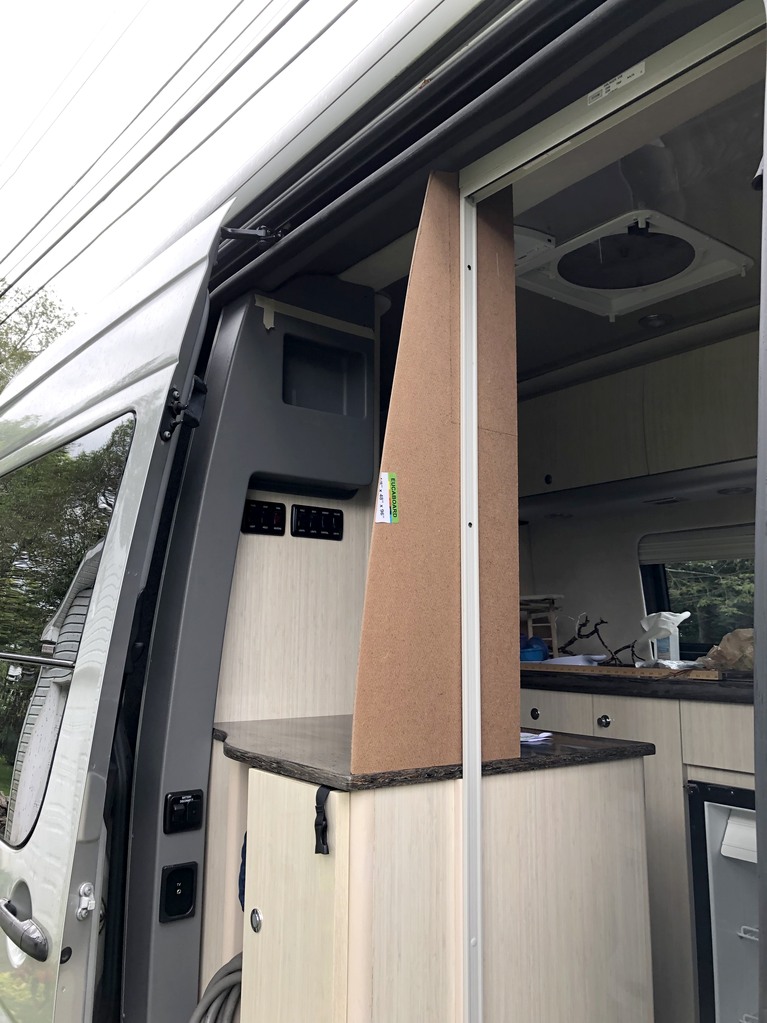
We made a corresponding piece and attached it to the black tank vent cover with VHB tape.
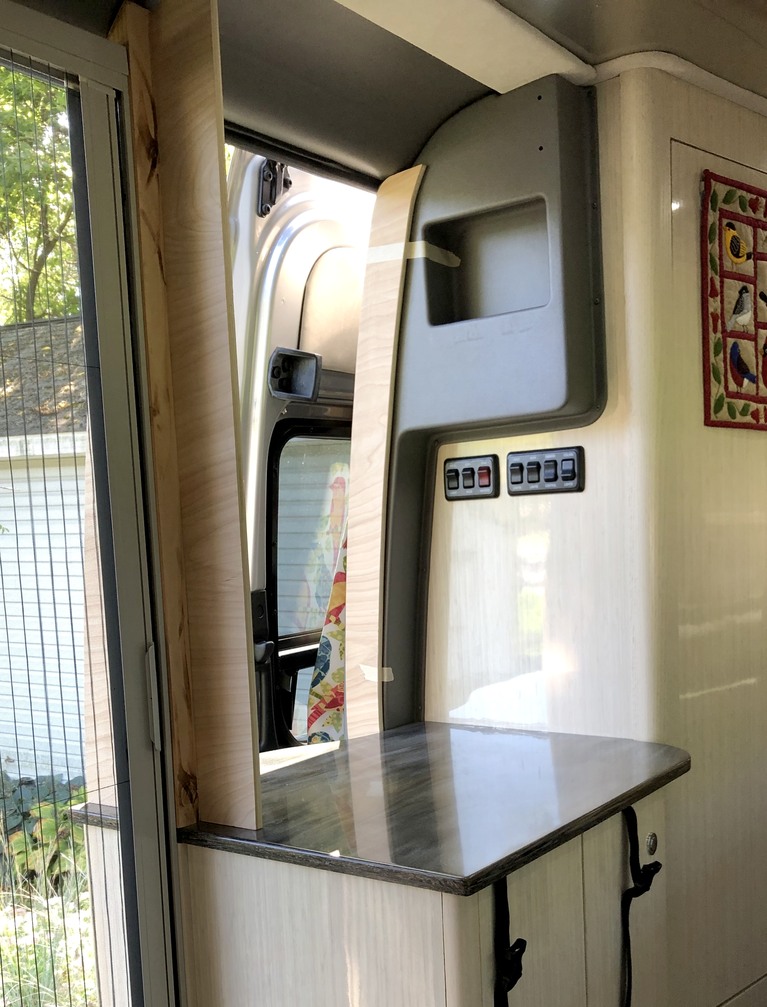
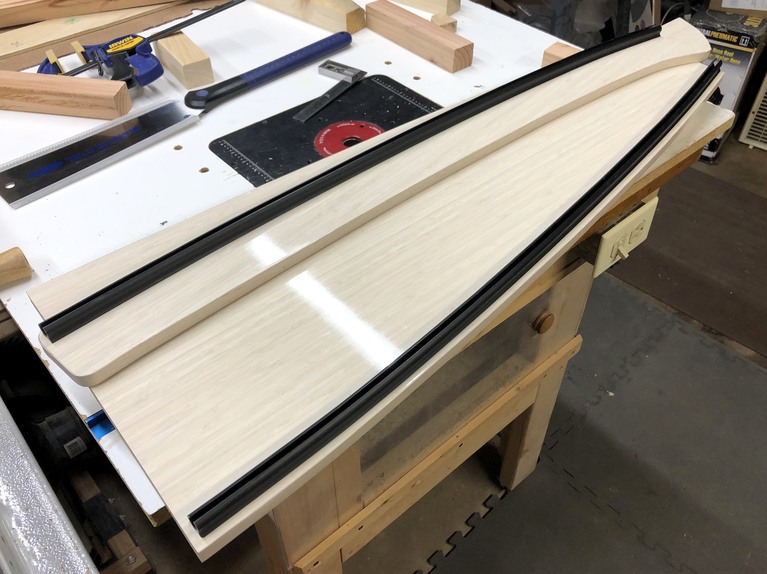
The finished pieces are shown below. The screen is attached to these pieces using flexible awning rail, which we obtained from Sailrite.
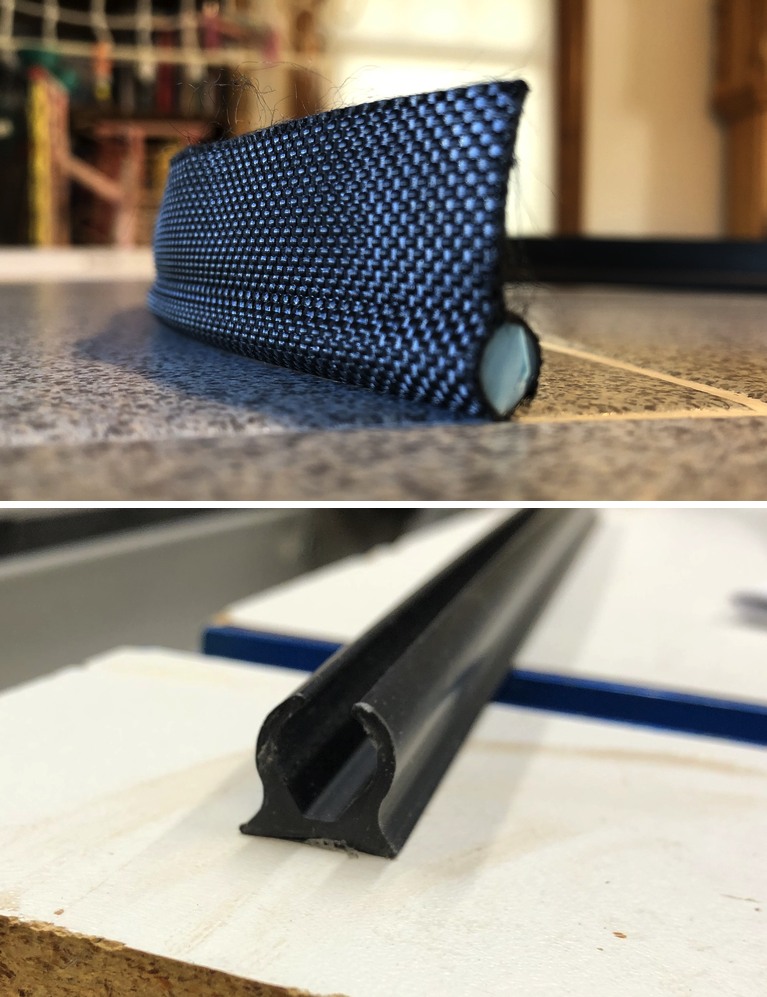
The awning rail fits keder awning rope. We sewed solar screen to the awning rope, then added Velcro top and bottom. This allows the screen to be removed for cleaning.
A framing member extends across the top of the door from the B pillar to the vent cover. It locks into the counter wall with a half-lap and a screw.
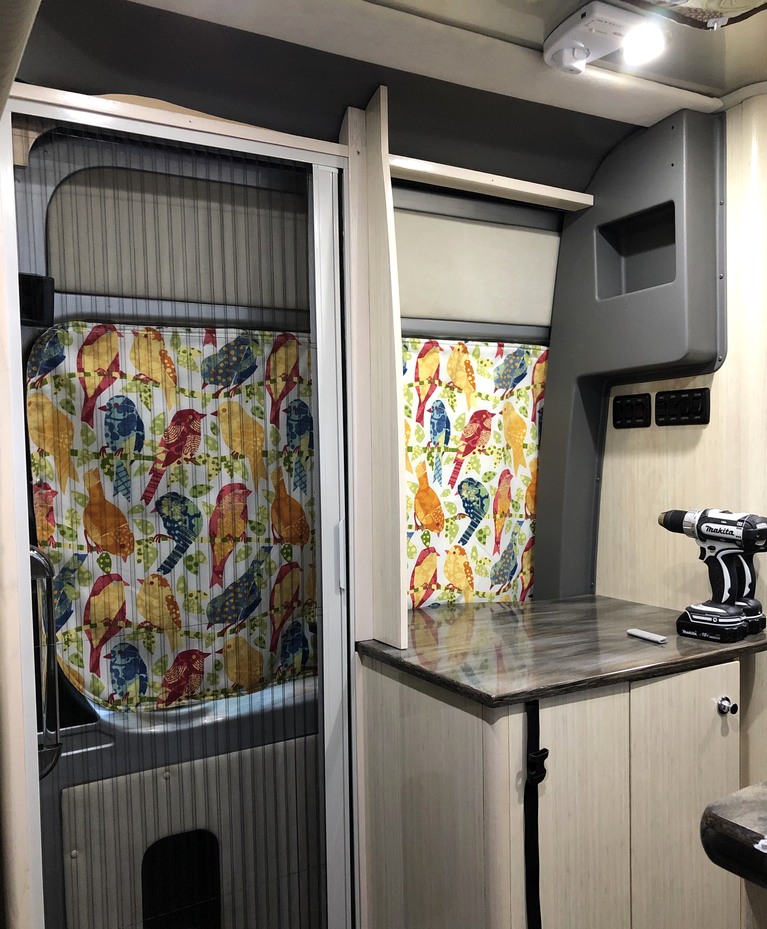
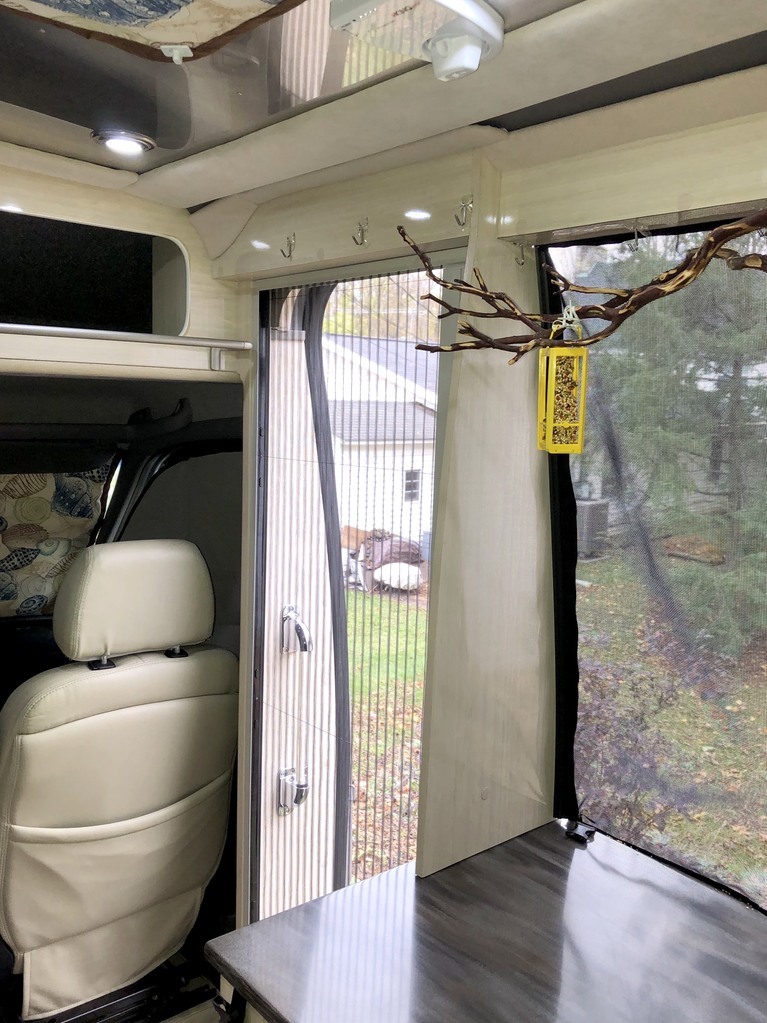
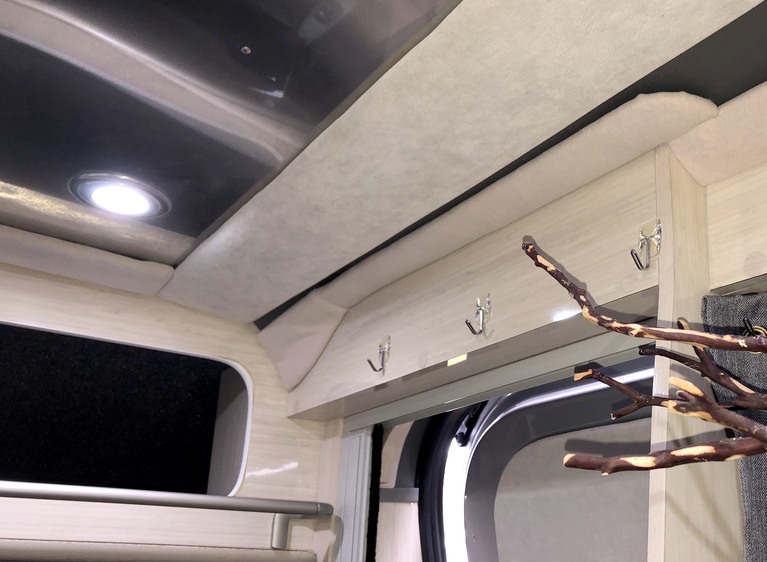
We added trim to the top on both the exterior and interior. The command hooks stuck to the trim are to hold additional curtains. When traveling with the birds, we hang a blackout curtain behind their cage (it sits on the counter) because they get very jumpy when they see things moving outside. We also hang a sheer curtain inside the screen door to prevent escapes.
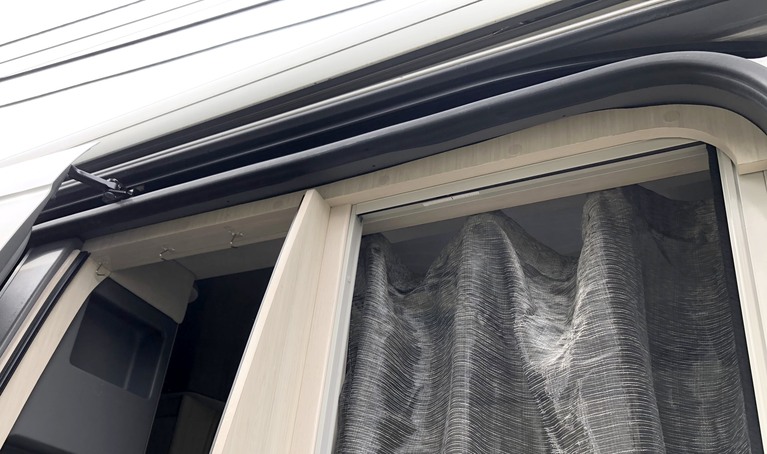
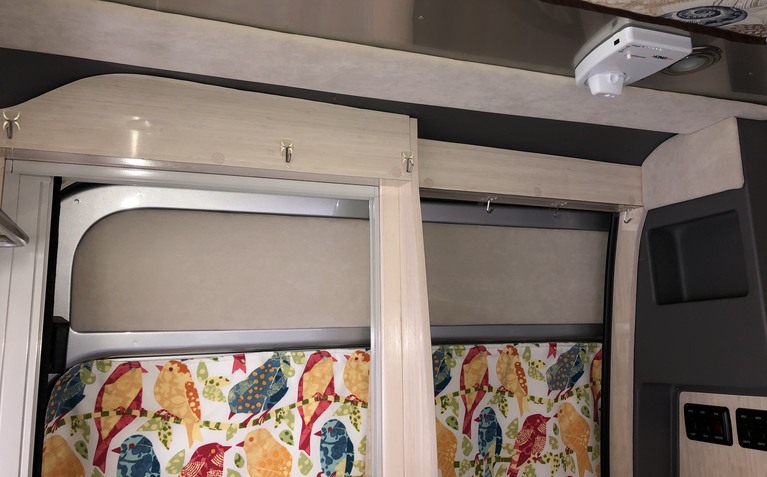
Airstream uses “mouse fur” to trim the interior. It is a synthetic suede. After ordering samples from several manufacturers, we found a pretty good match with Unisuede fabric in Sand color. We attached headliner foam to the Unisuede with spray adhesive, then cut 1/4 inch plywood to shape. We stapled the fabric to the plywood, which meant we got to buy another new tool: an air powered staple gun. There were lots of new tools on this project!
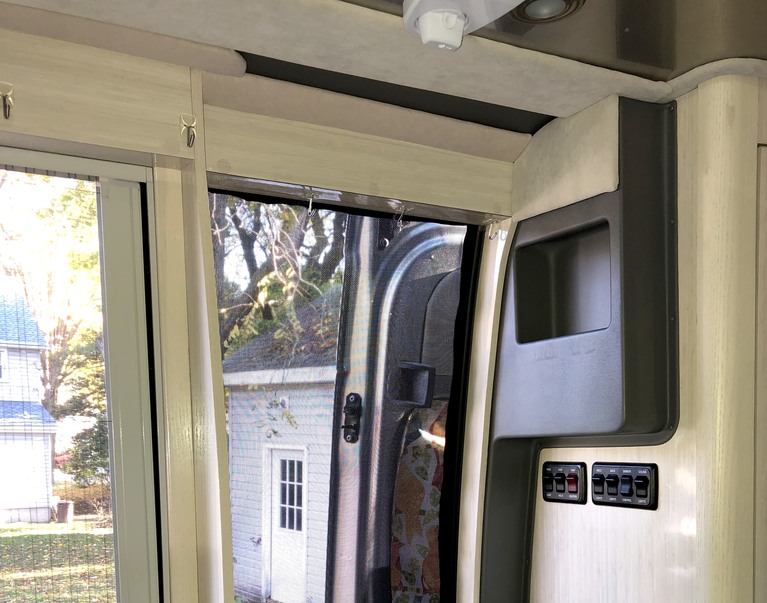
We needed some curved pieces to finish the trim. These have a base of flexible plastic (we used a piece of soffit vent because it was hanging around) and a heat gun to make the curves. The Unisuede and foam were glued to the plastic. The outside of the door was finished in the same manner, using a thin strip of upholstery. All these pieces were installed with automotive trim retainers, aka “Christmas trees”.
Lastly, all the screws were covered with FastCaps. Below are some photos of the finished product.
